
Create a glow lighting effect

Playing With Lighting Can Be A Really Easy And Efficient Way To Take Your Photos From Good To Pro In A Few Simple Steps!
So, Let’s Walk Through The Steps On The “Glow Effect” Lighting Technique!
What you need:
Whether using a constant light or strobe, you will need at least two lights to achieve this look.
Either a small stand or box to lift up your “glow” light
Your camera, your products and a table
Steps:
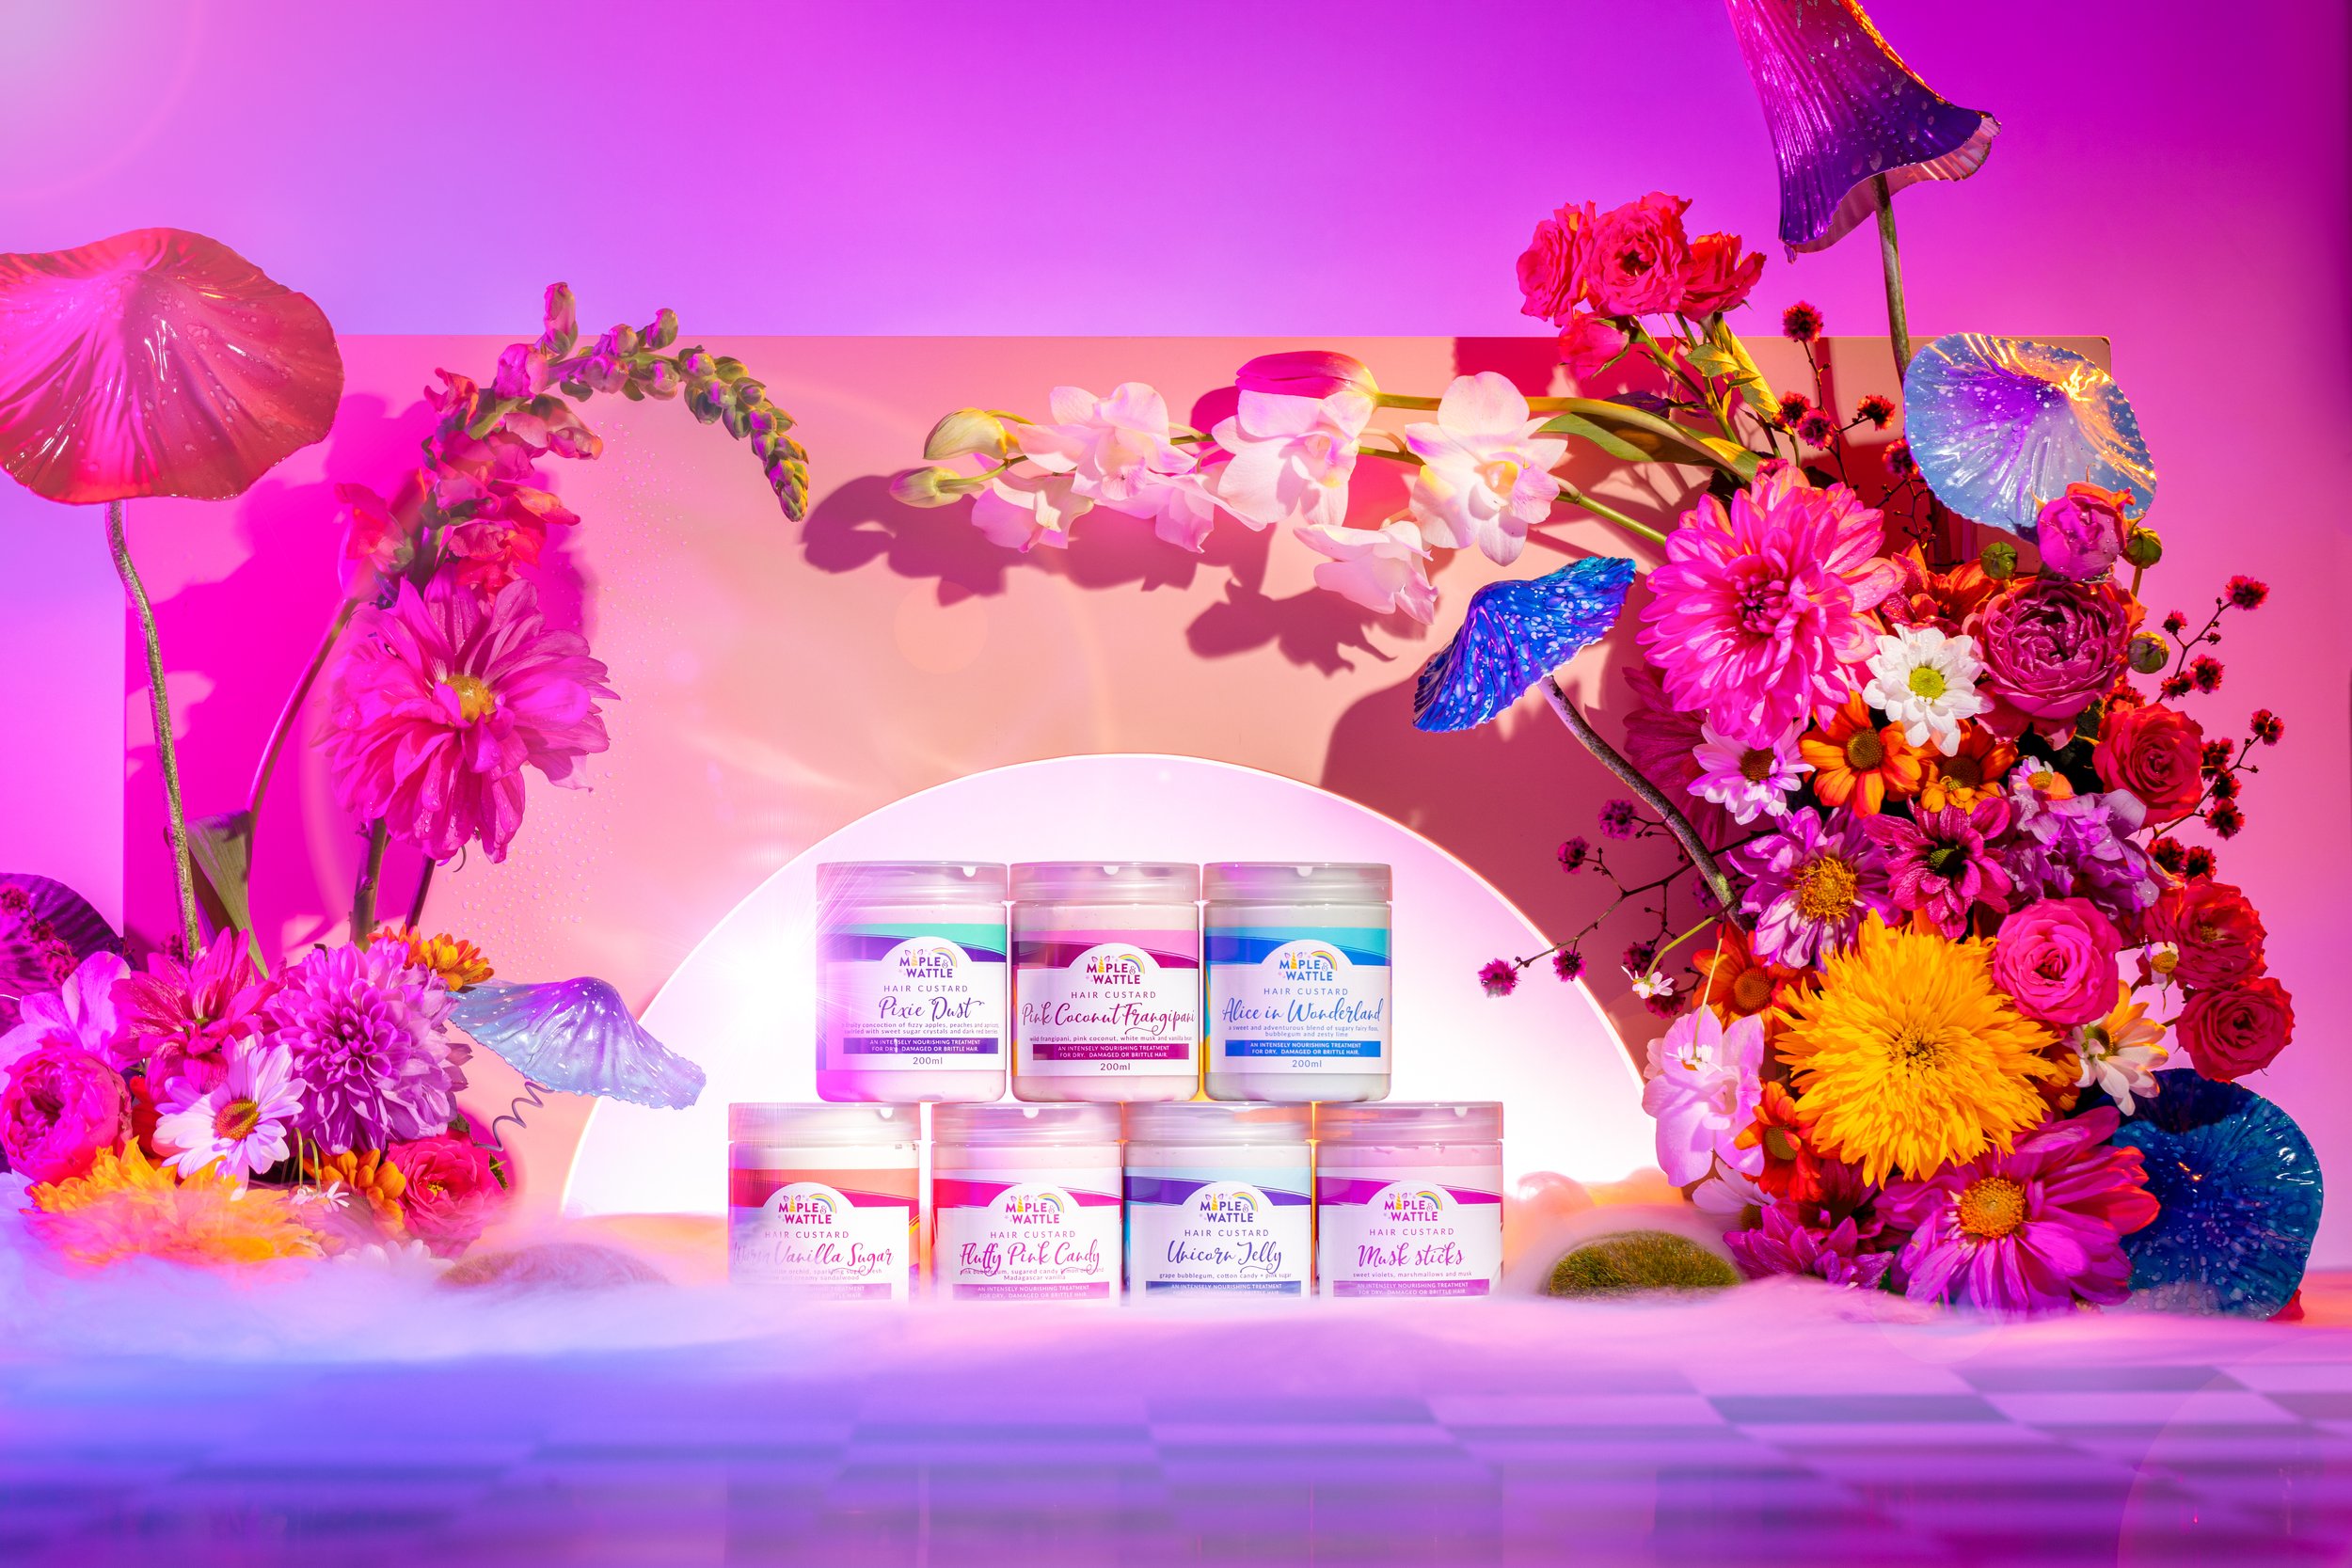
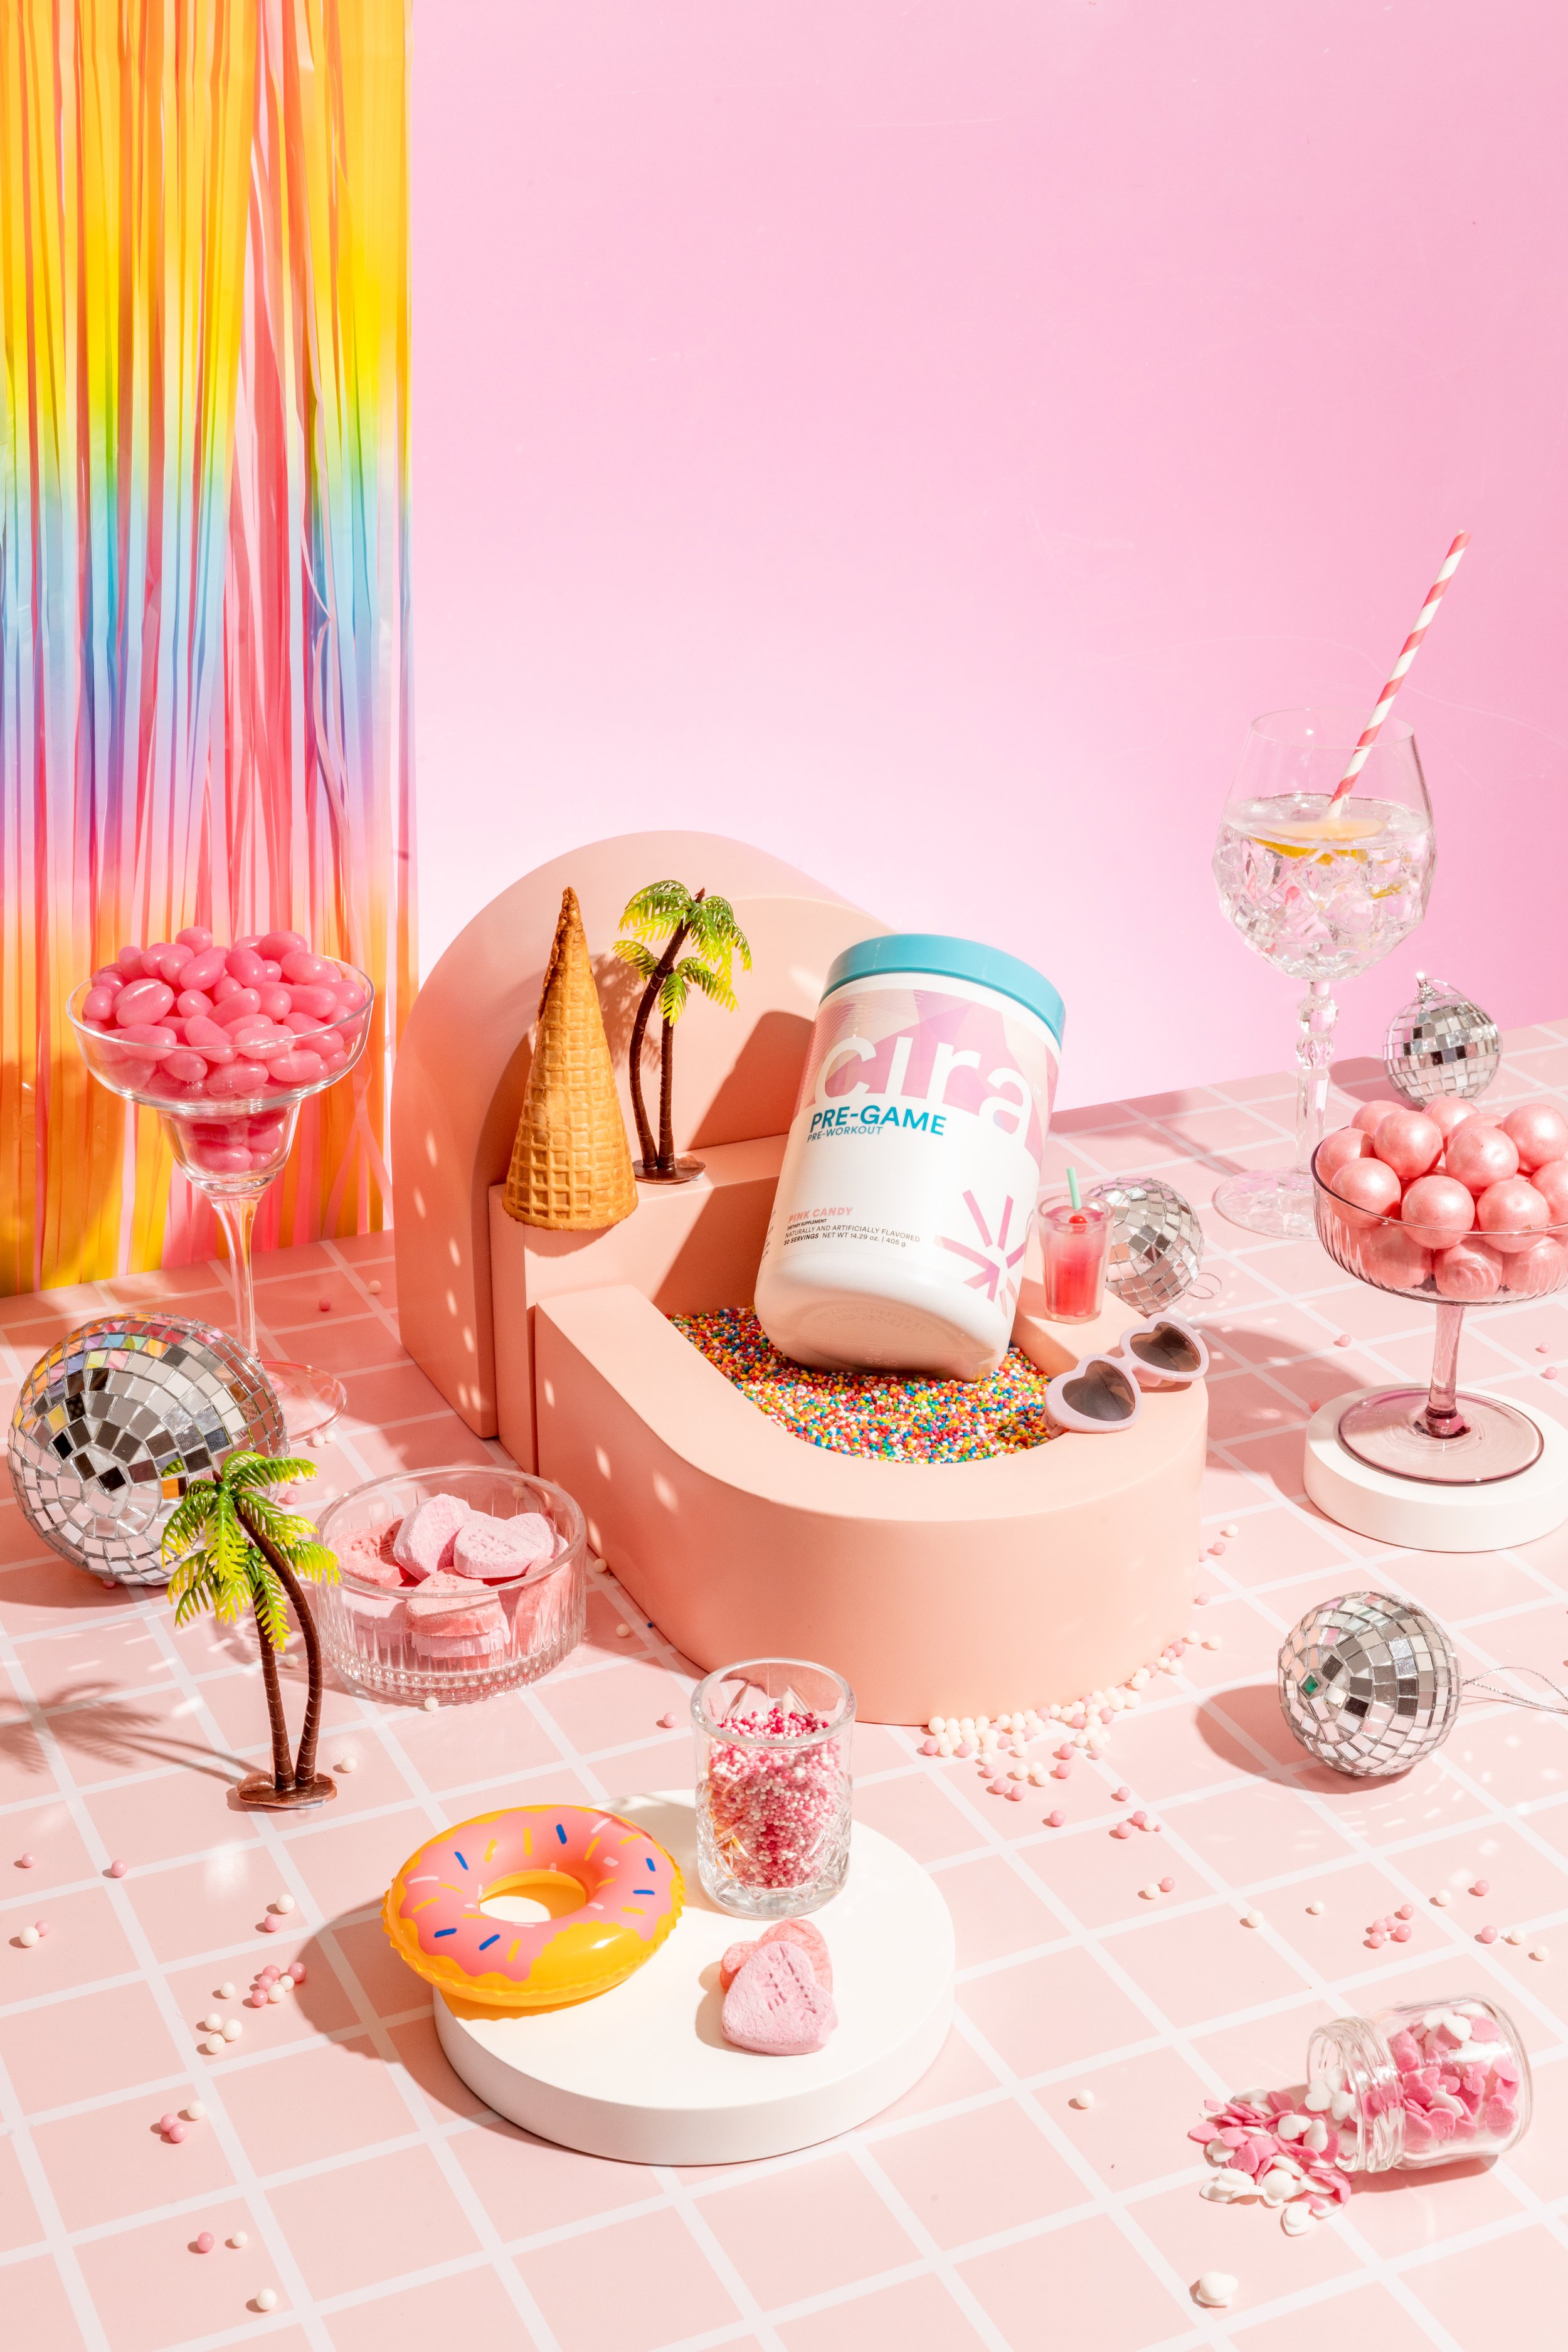
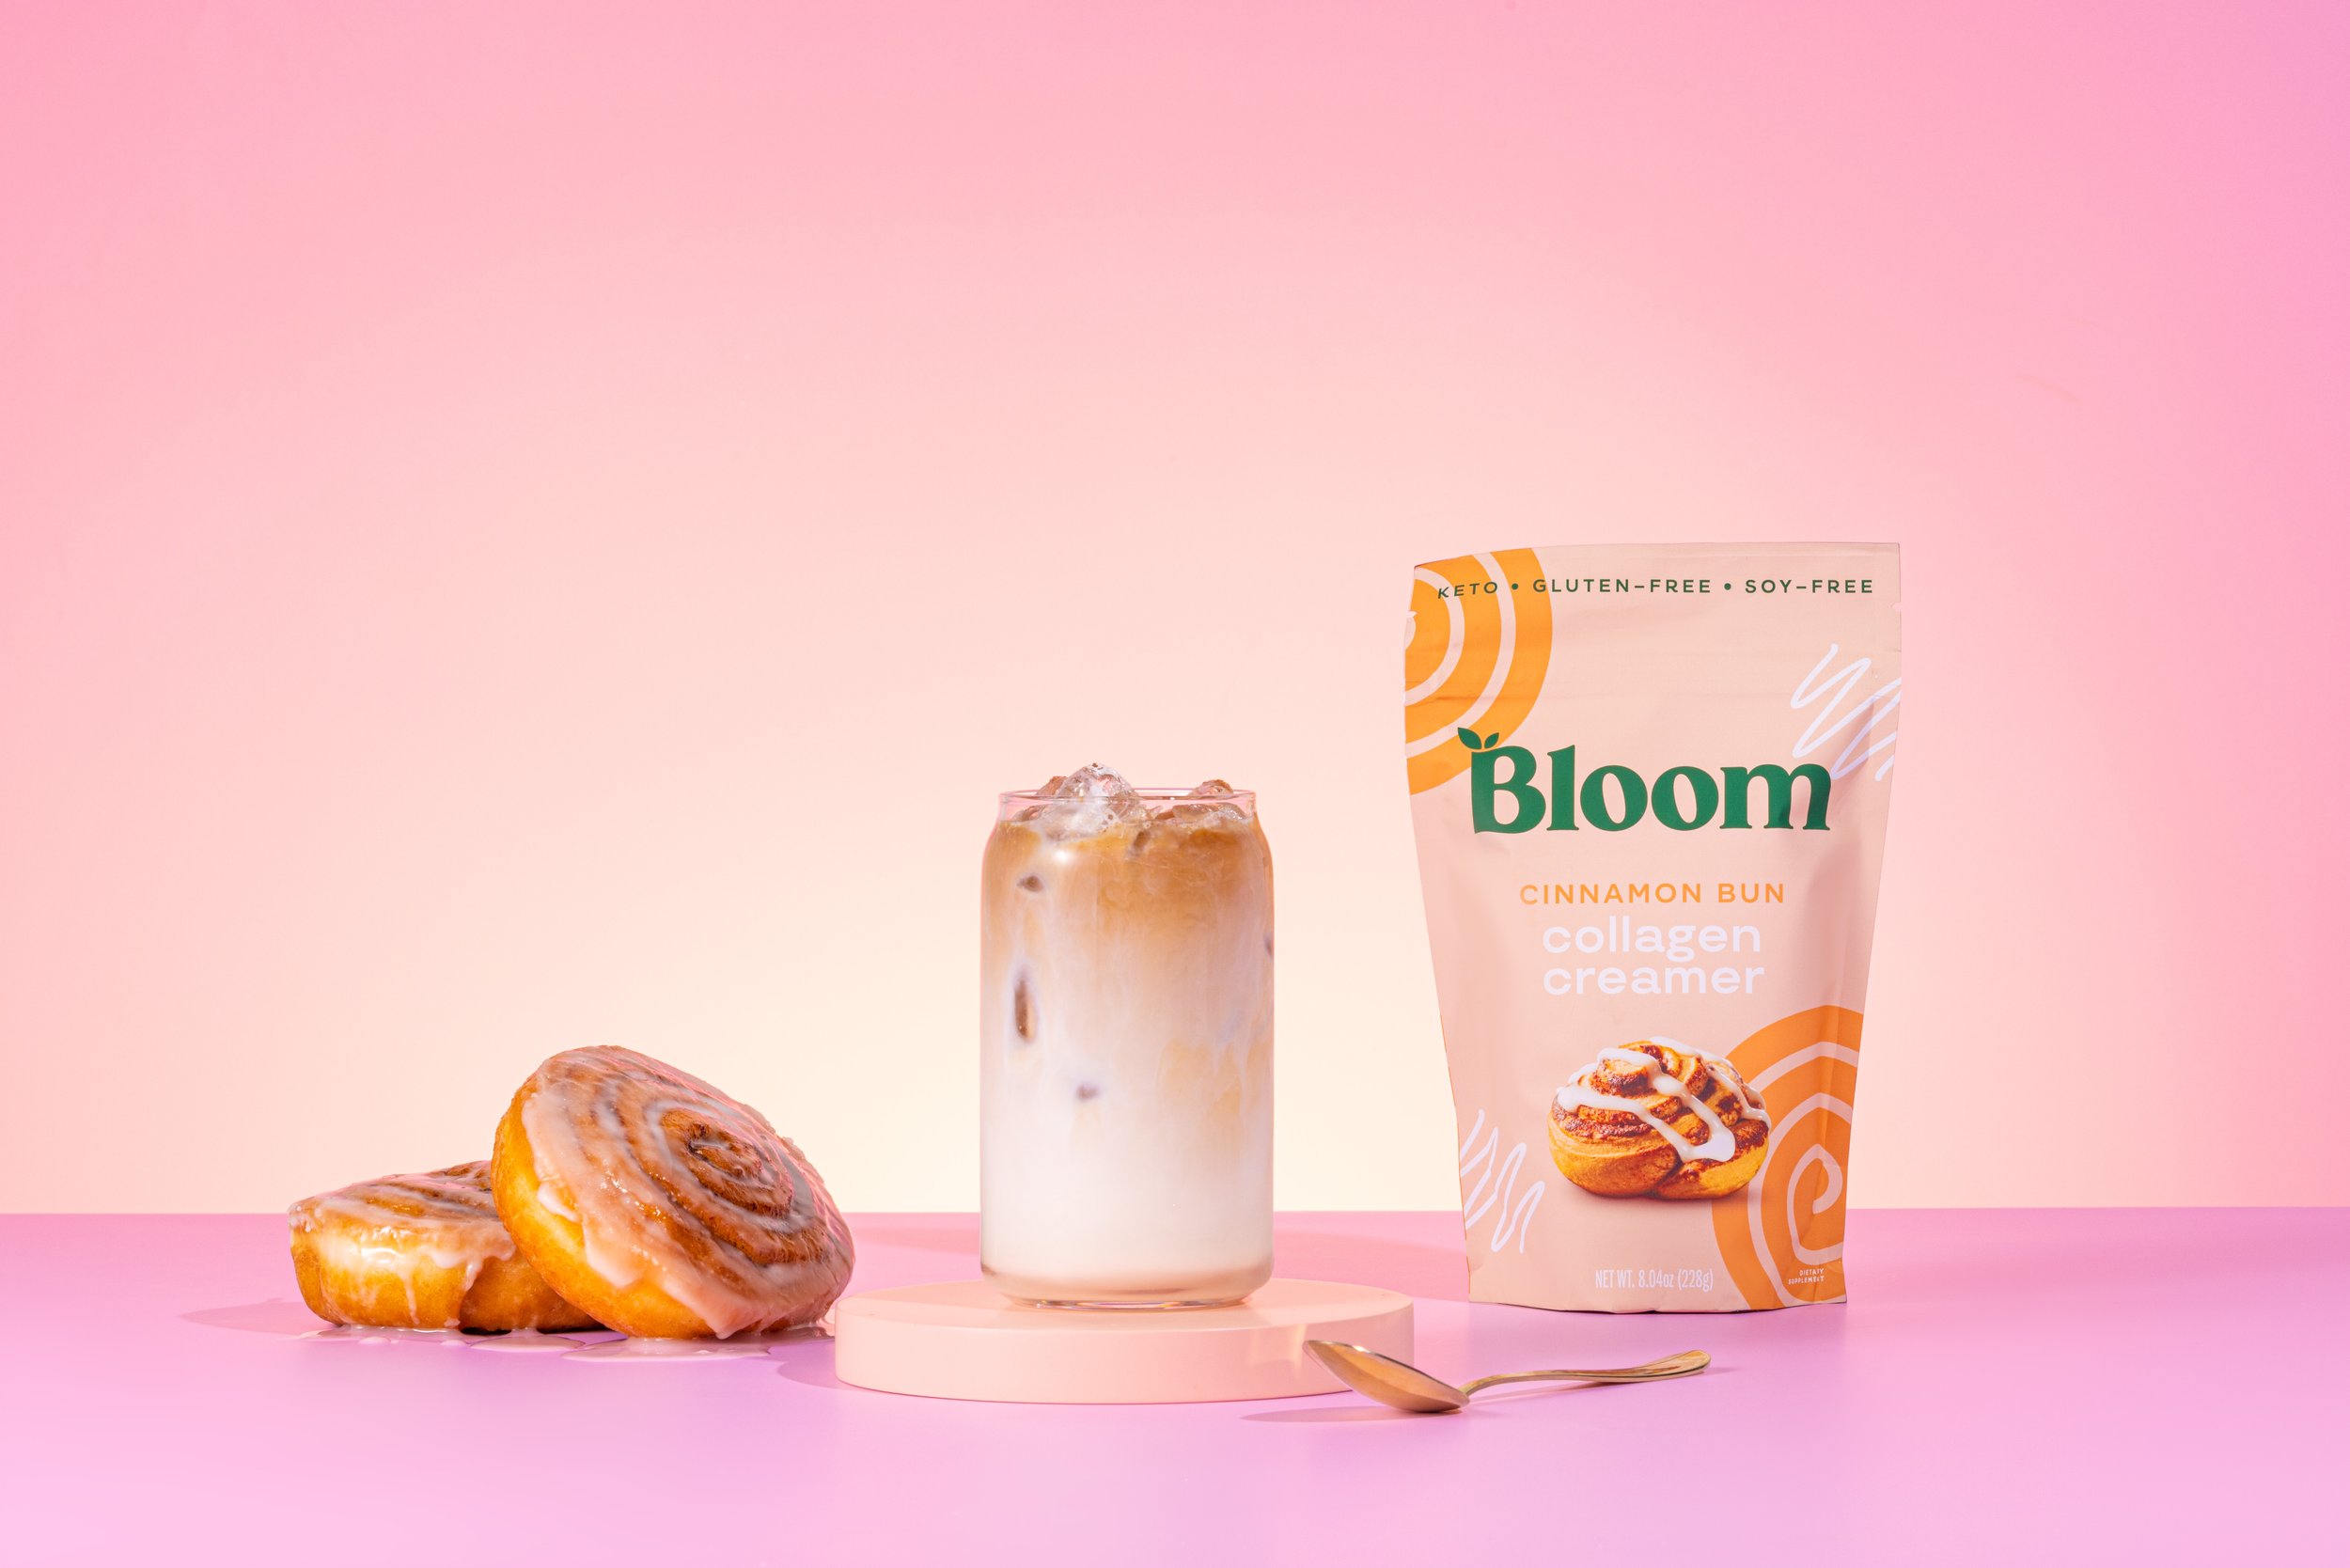
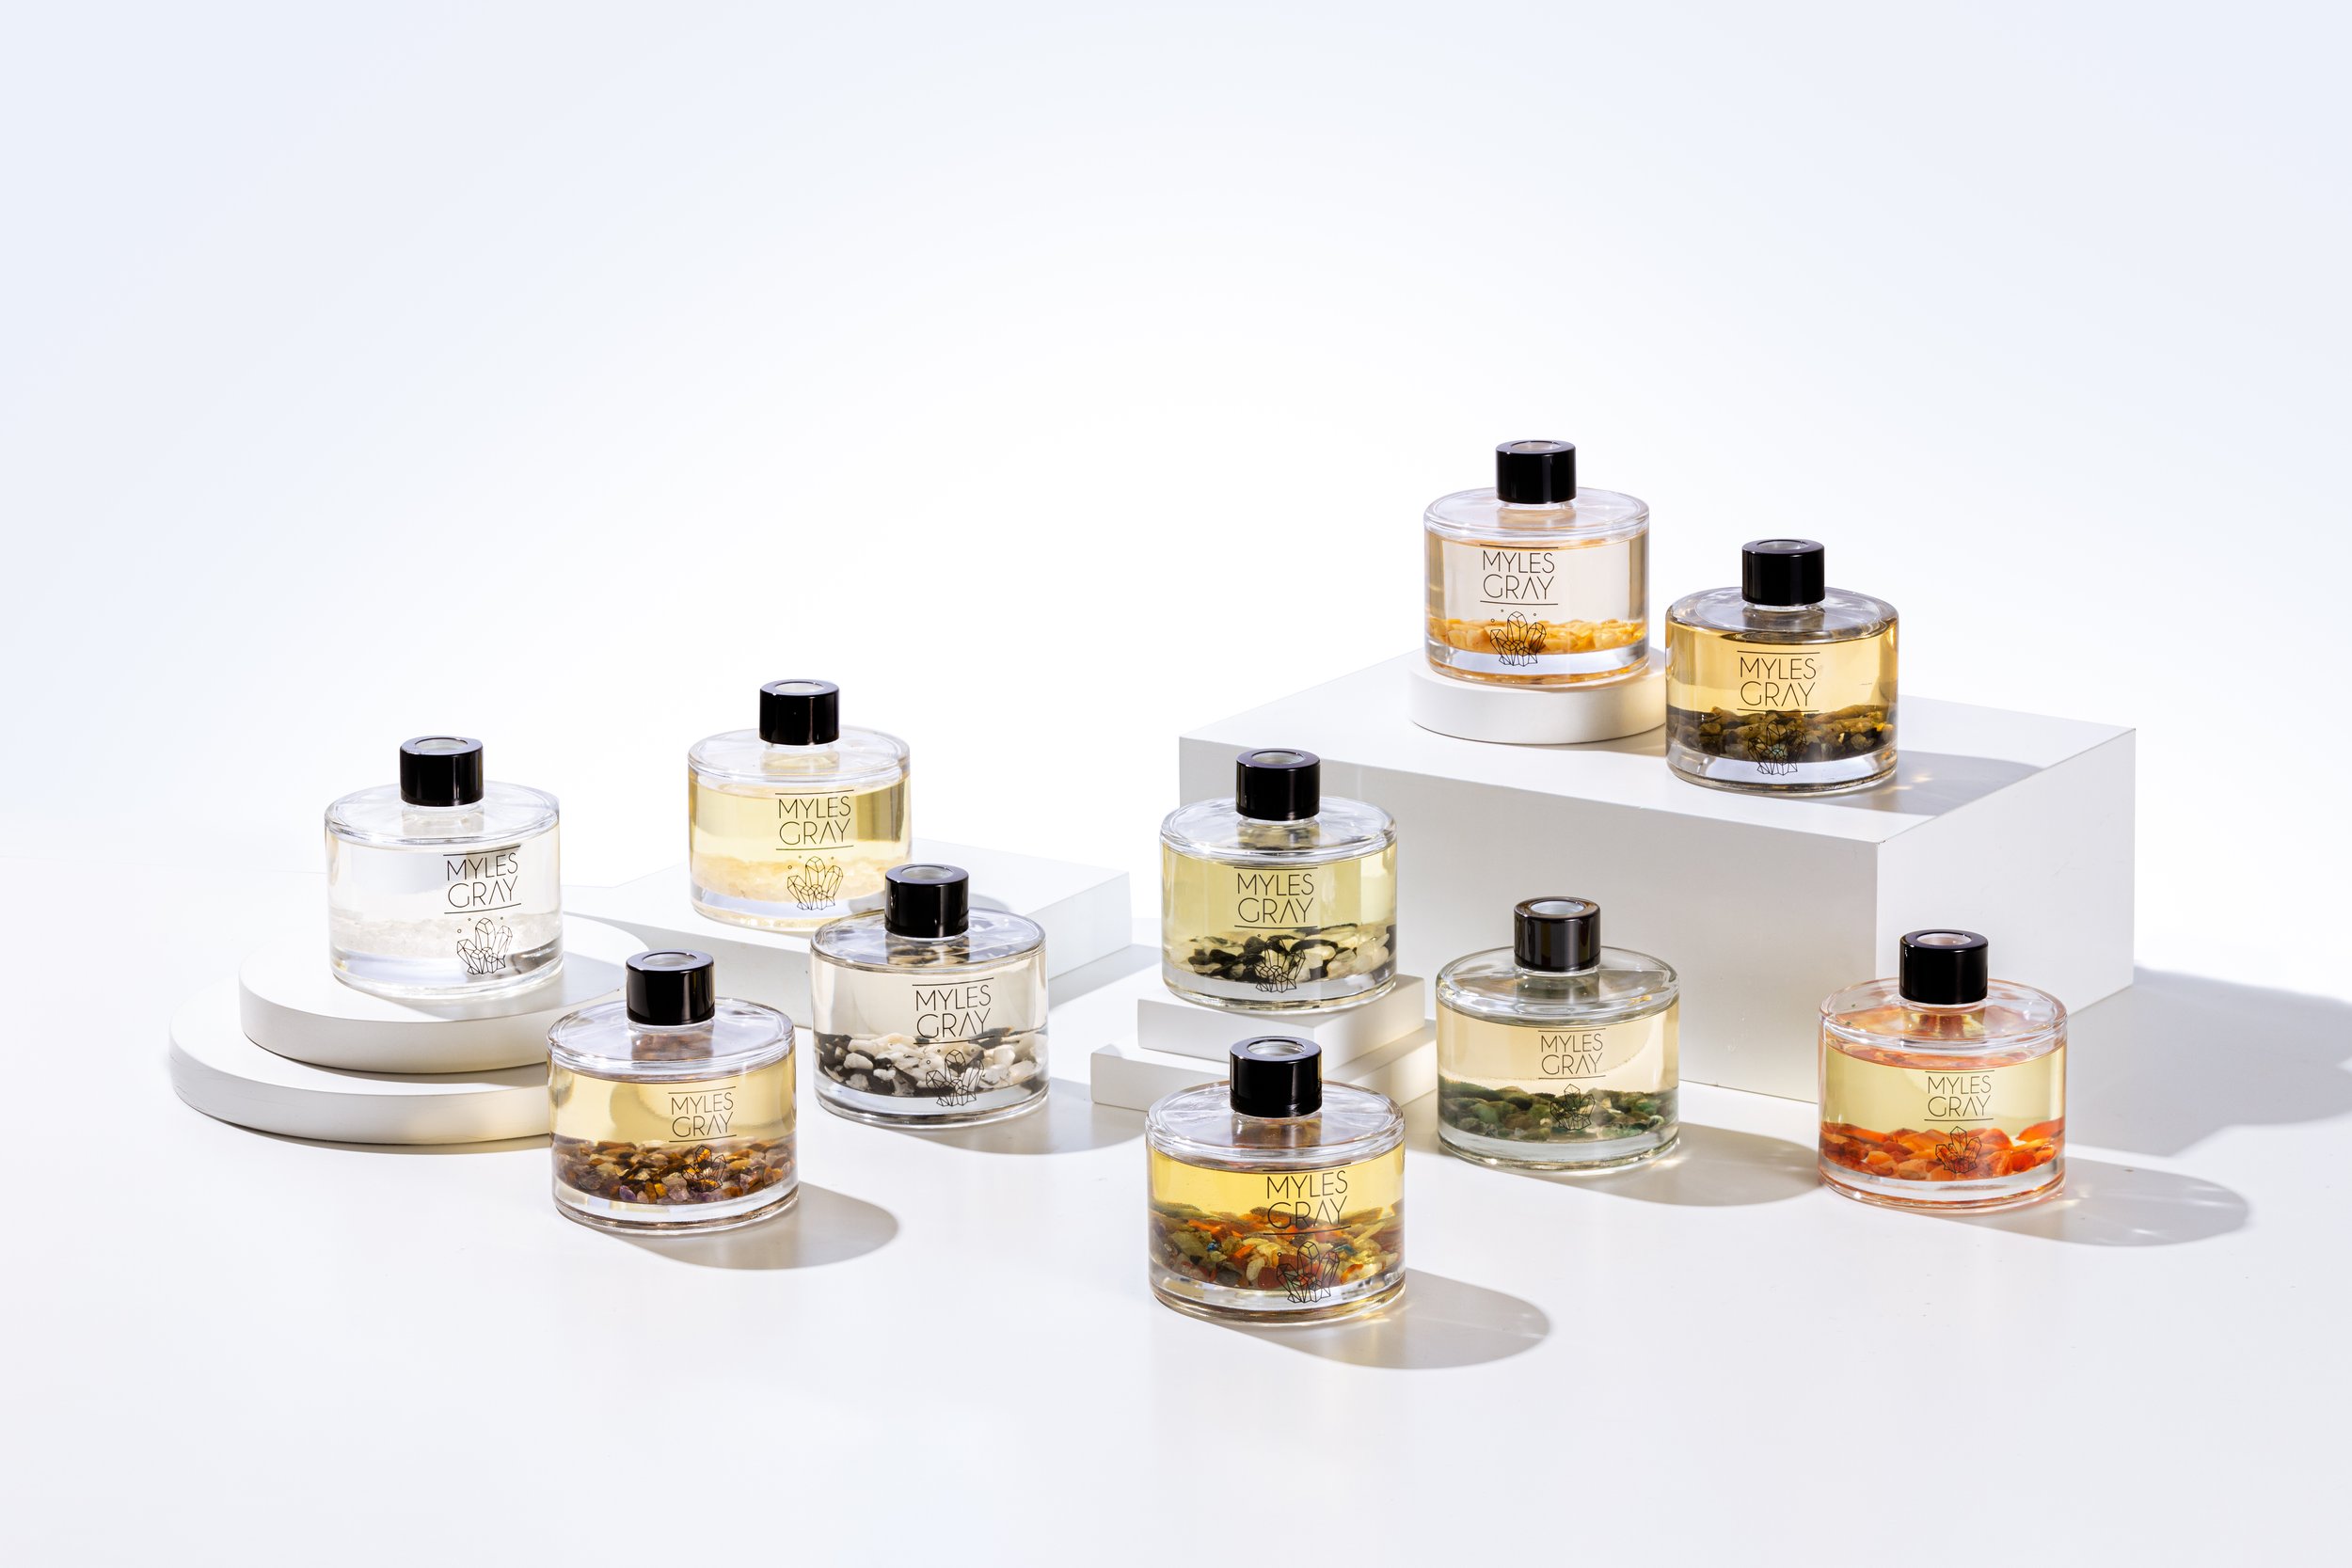
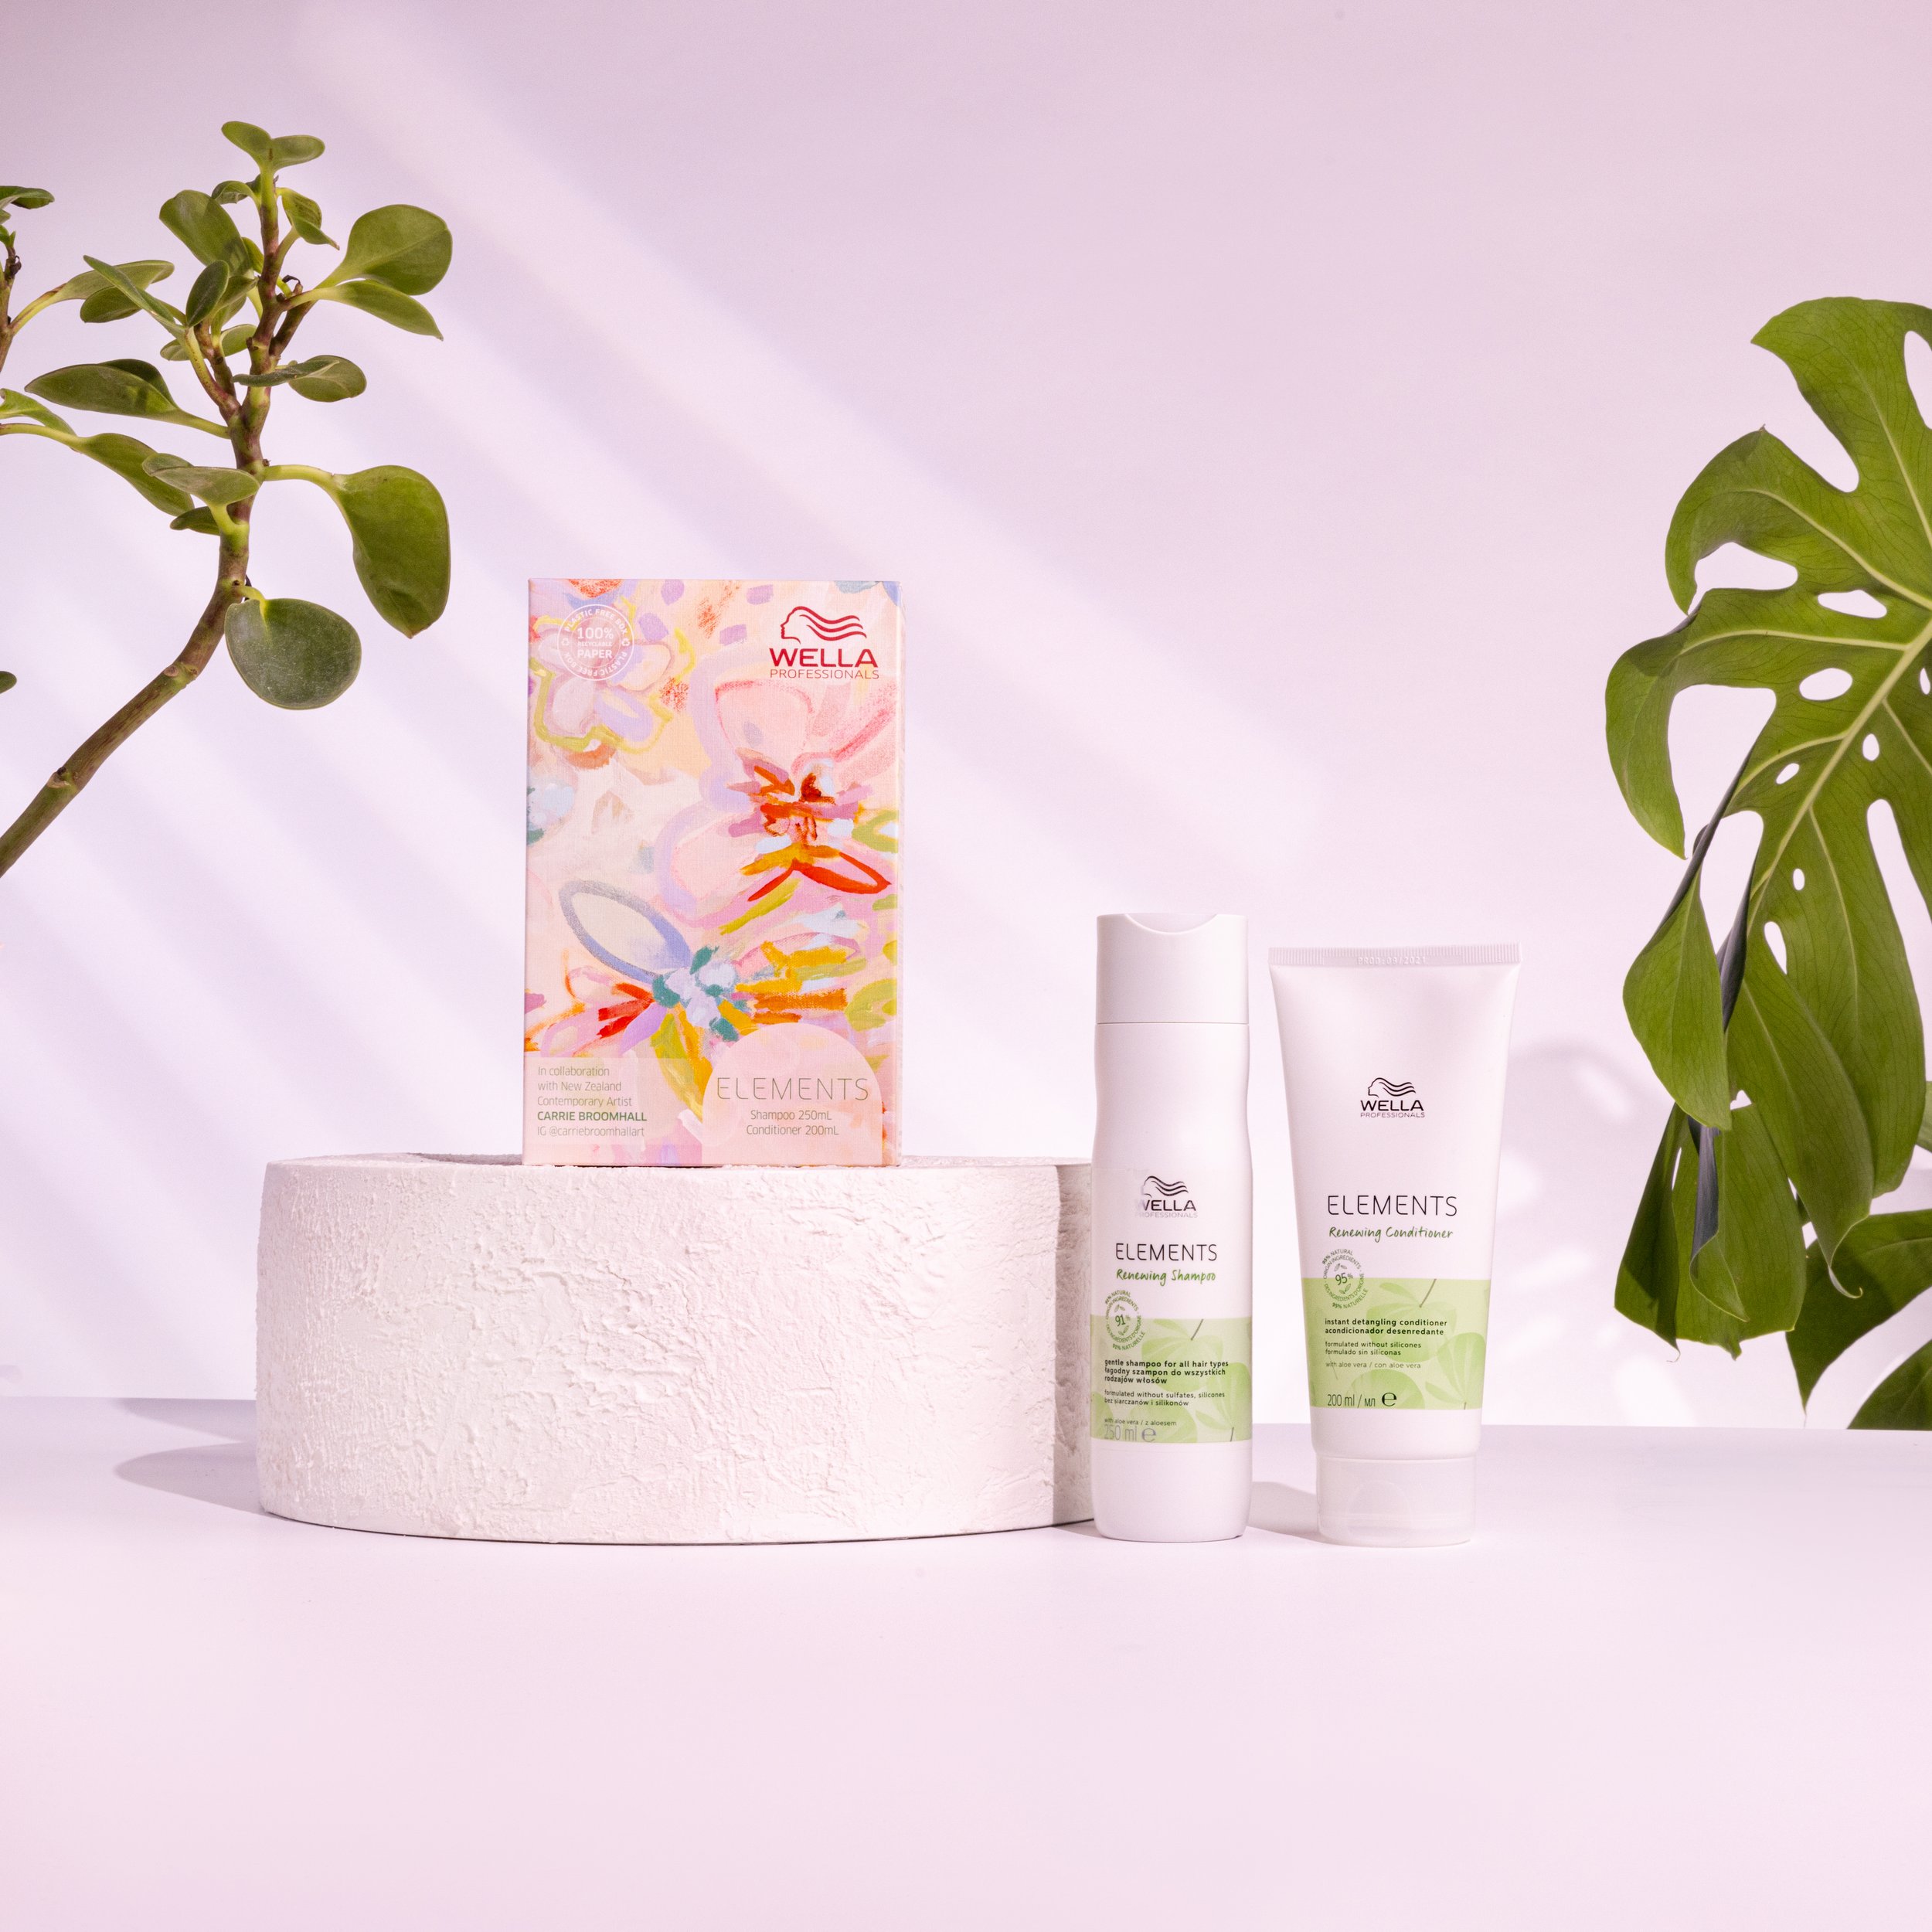
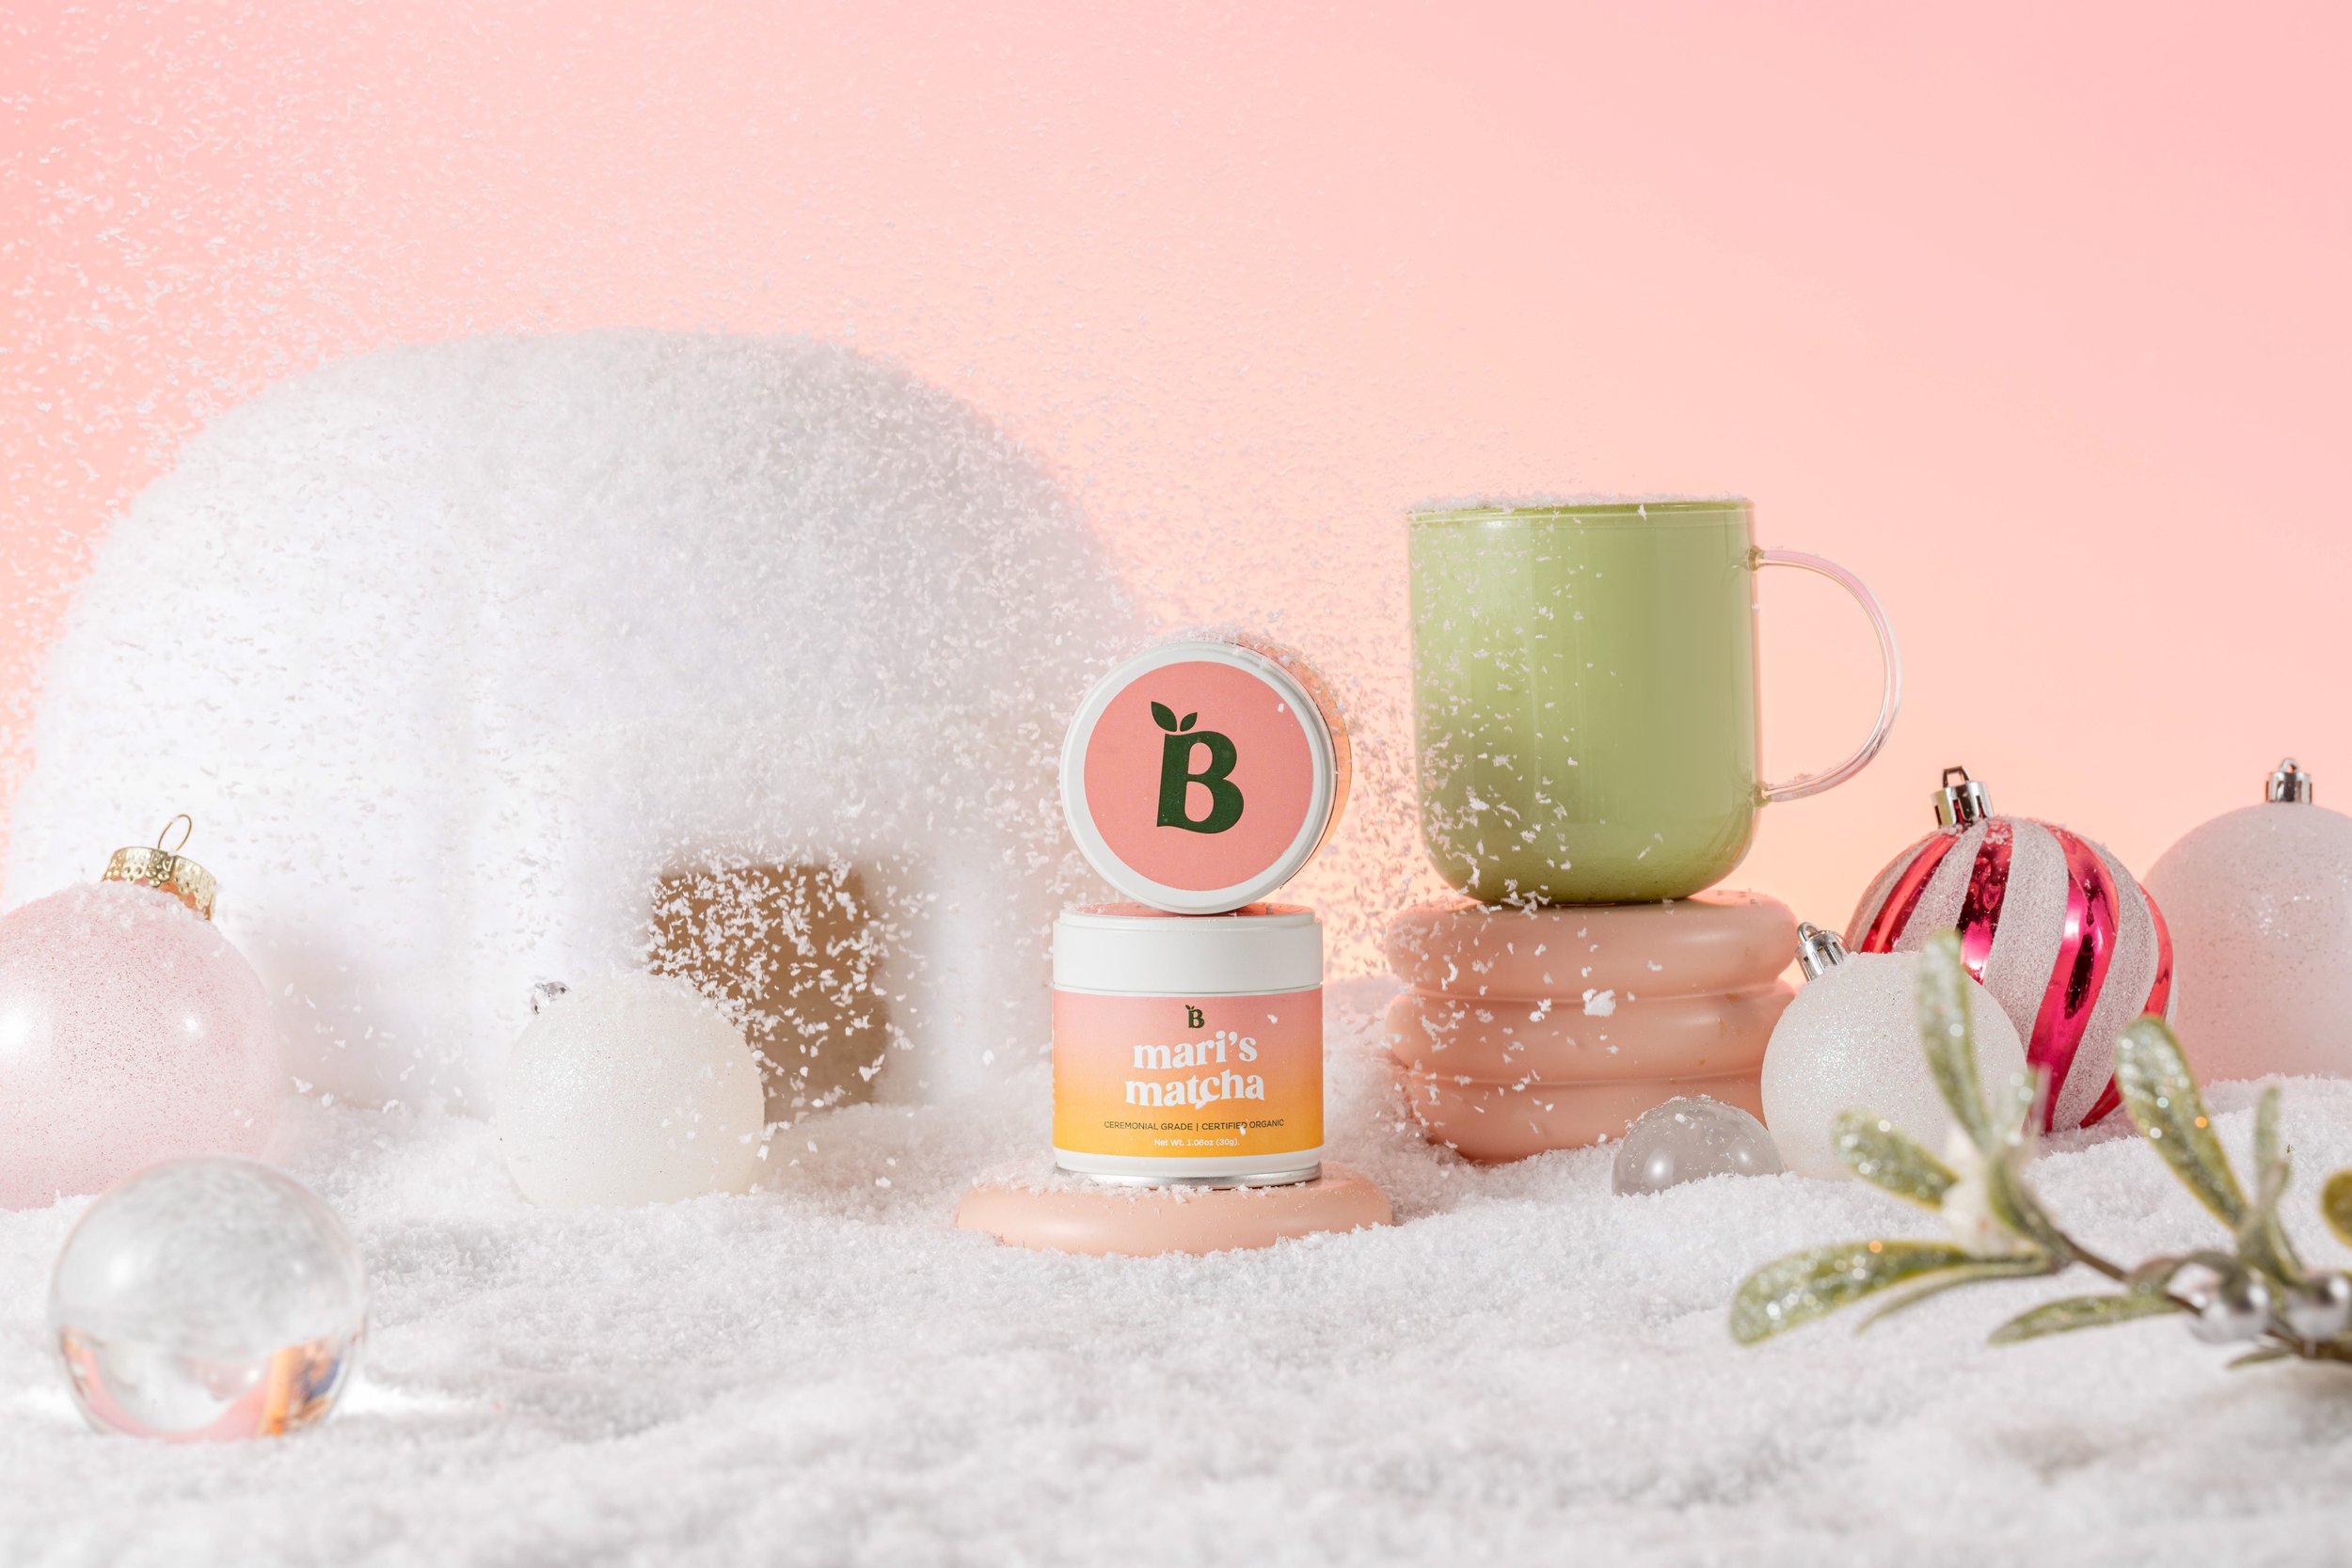
This method can be applied in many types of photography, but to simplify this blog, I will refer to table-top product photography as an example.
Before we do any styling, we need to build the foundation of our workspace.
1. Bring the table you will be shooting on to ensure space between your scene and backdrop. We often use lightweight printed backdrops that we blend to the wall or paper backdrops on a C-stand.
2. We place our first light either on the ground or on a box (you can also use a small stand) underneath our table, making sure it’s pointing directly out our backdrop. This is going to be our “glow” strobe.
TIP: The further away your strobe is from the backdrop, the larger the light spread. The closer your strobe is to the backdrop, the smaller (and harsher) the glow. You can also use different modifiers (soft boxes) to change the shape of the glow. We like a small glow, so we often keep the strobe close. You can light your products once your first strobe is set up (your glow strobe).
For our style of product photography, We like to use a bare strobe (as we love harsh shadows), but we will sometimes opt to use a softbox if that is the photoshoot's theme.
If you found this blog helpful, be sure to give our method a go!
Don’t forget to tag us on instagram so we can see what you create!